Showing posts with label workshop. Show all posts

Saturday, September 22, 2007

Summer Woodworking

My last post was over 2 months ago. Sorry about that. I have done a bit of woodworking since then, although not a lot. Among the other things taking up my time were:
  • We dropped off Snowflake's nightlight and met the man himself - he's a real cutie.
  • I spent a couple of days on the Cape with my sister, her family, their friend and her son. One afternoon I supervised the boys D and JT making stepping stones (concrete, ceramic tiles and glitter). JT was particularly excited about the glitter. I didn't stay long enough to see the hardened stones, but word has it that the boys were fascinated by how the gloppy concrete turned into solid stones.
    D's stepping stone JT's stepping stone
  • We spent the last two weeks of July in the Adirondacks. We've vacationed there all but 2 of the last 12 years, the last 8 in Owl Cabin at Wakanda. Although I took some things to sand with me they never got pulled out. I did take photos and dimensions of an end table (a new addition to our cabin) which will likely end up as a project soon.
  • Like too many other houses, our bathroom has a window above the tub. Since the tub is also used for showers the window gets wet. Over the years water has undermined the window framing, and the wall behind the plastic tub surround. The surround on our tub is several panels rather than a single piece. Over time the seams have lost their integrity and water has infiltrated. As embarrassing as it is to say this, the wall board behind the surround has been falling apart for years. After replacing the toilet and floor, we finally couldn't take it anymore. So in mid-August I carefully removed the surround and replaced the outside wall. Note to anyone reading - cardboard is not an acceptable shim in a bathroom wall! The job proved a little bit more involved than anticipated because the window trim was glued to the framing which meant that it all had to be replaced.
  • Since returning from vacation work has been taking up a lot of time and more energy.
  • I have been giving the kayak a good amount of time in the water.
There has been a bit of woodworking as well.

Hiker Boy's Advent Calendar
Photo Sharing and Video Hosting at Photobucket
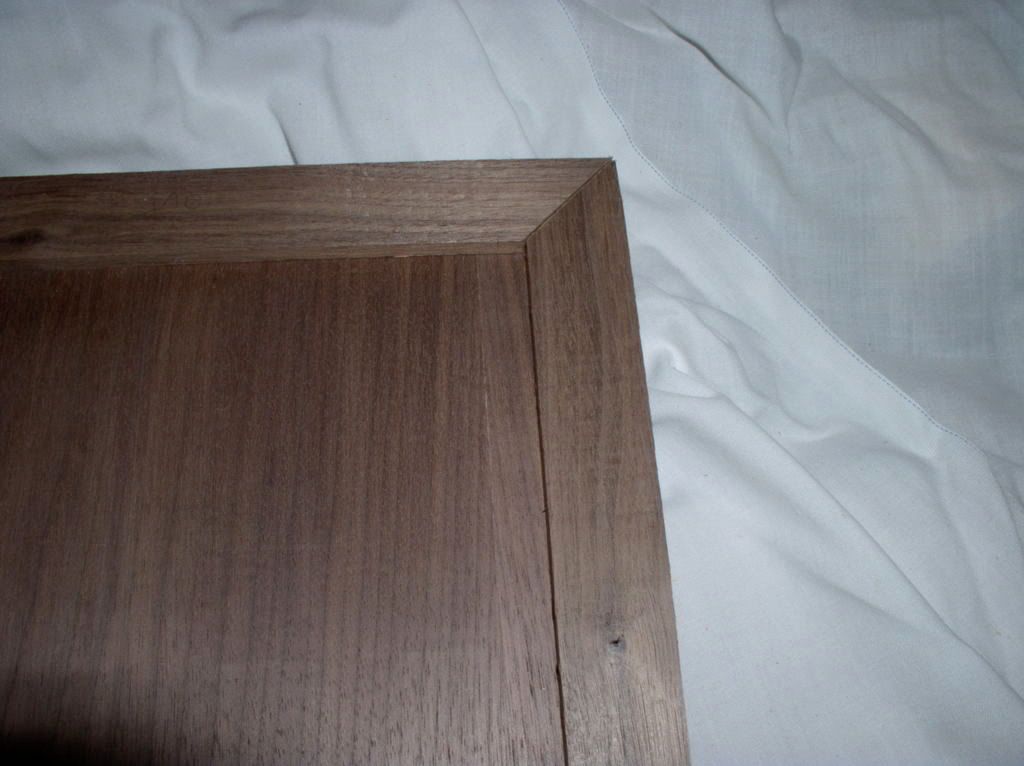
The stock for all parts has been milled, and I'm ready to start joinery. The drawer stock still needs to be cut to final dimension. The picture above is the corner of one of the doors.

Softball Bat
This is a new addition to the list. Last spring many of the guys in my woodworking class made baseball bats. One evening as I was leaving the instructor commented that I was the one who should be making a bat. He's aware of my participation in the softball league at work (I help run our team, play, umpire and coordinate the umpires for the league). And when he found out that I'd never used a lathe he was even more convinced that I should give it a try. I didn't have anything else to work on for the last class, so I decided to give it a try. Here's the progress so far. I should have it mostly finished next week when class starts again.
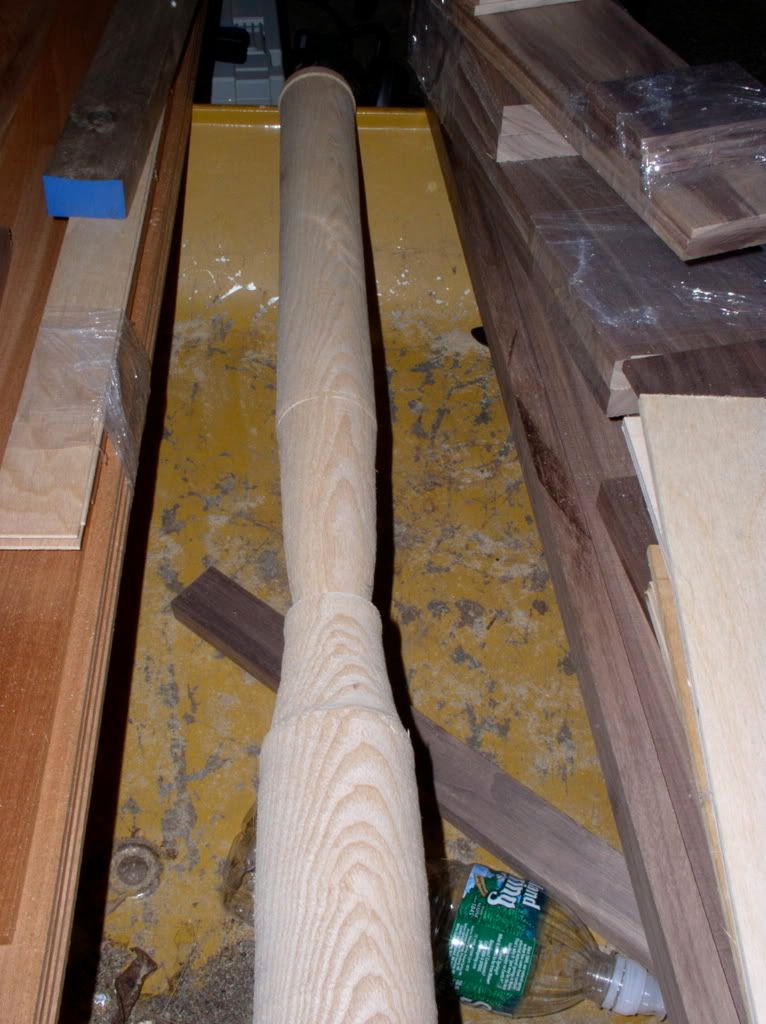
Photo Sharing and Video Hosting at Photobucket


Workbench Top

Photo Sharing and Video Hosting at Photobucket
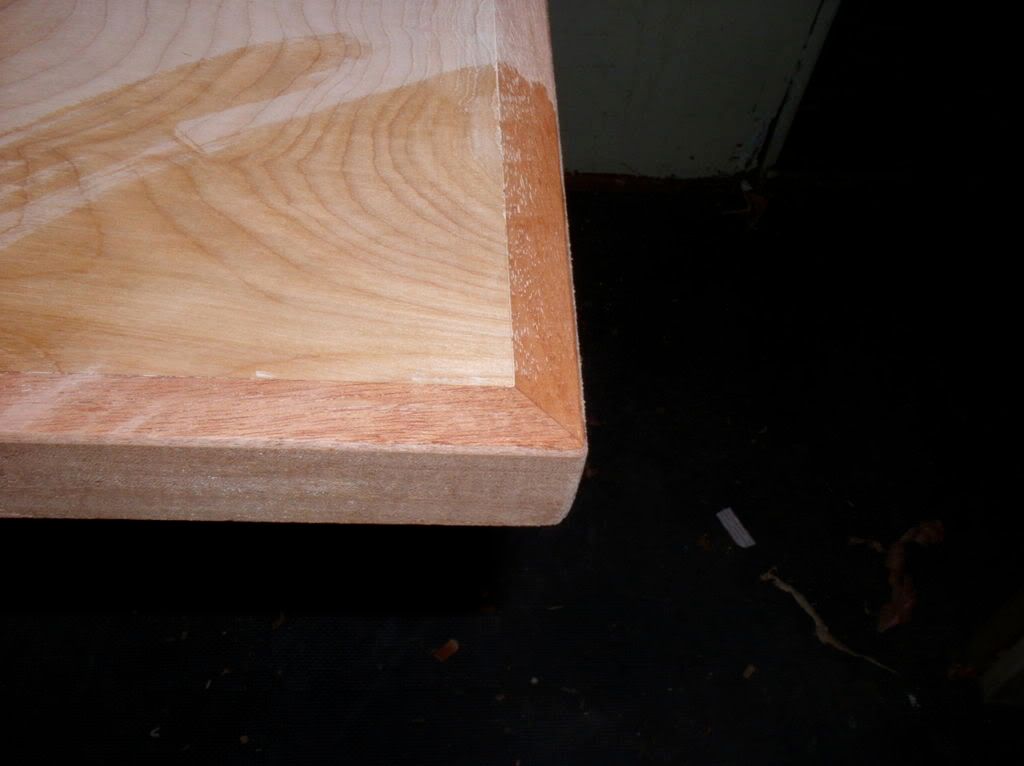
The new top for the bench is almost complete. I used mahogany to edge the plywood. It's attached using biscuits which gave me an excuse to use my biscuit joiner. I attached it so it was a little higher than the surface of the plywood and then planed it down. The only thing left to do is to apply a finish to it. I'm leaning toward using boiled linseed oil.

Footstools

I filled the grain on the footstools with a mixture of pumice and boiled linseed oil. They look great, but need a lot of sanding. I've got the top of one done and it feels great after the sanding.

Ornament
owl ornament
Almost every year for the last 10 I've made a window hanging/Christmas tree ornament using my scrollsaw. The one pictured above is from 2005. Much to Amy's amazement I have already got the first pass of this year's design done. I'll try this one out and then make adjustments before starting in on the production run.

Saturday, July 7, 2007

New Bench Top

I've been frustrated with the top of my primary workbench for quite a while. (I have a second bench but it serves as a storage area and will soon be leaving my shop.) The frame is functional, but the top which consists of 6 2X6s is not meeting my needs. I'd long ago decided that replacing the top with a double layer of 3/4" plywood would greatly improve it. I acquired the plywood back in April and it's been sitting in the garage since. A couple of weekends ago Amy helped me cut it down to the necessary size.

Last night I decided that this was the weekend to tackle the benchtop replacement. This is what it looked like when I headed to the shop today. The clutter on the top is normal, although the exact composition changes.
Photo Sharing and Video Hosting at Photobucket

Step one of the process was to clear the bench. A number of things were put away, the rest were stacked in other places - on top of the other bench, on top of the router table, on the floor... The attached items - drill bit holder, vise, the screw from which my brush hangs and the doorbell light* were also removed. Here's how it looked at that point.
Photo Sharing and Video Hosting at Photobucket

After removing the back splash, the boards of the top were removed, a fairly straight forward operation. Here's a look at the frame. The bright colored squares are rubber floor mats. I've had the floor padded for a while. I started with a small number of colored mats. When I expanded the padding all I could find were slightly larger black mats. I used both the colored mats and the new ones, but they don't interlock and this left edges to trip on which is definitely not a good idea. So, I took this opportunity to replace the colored mats with more of the black ones. This will give me fully interlocked padding.
Photo Sharing and Video Hosting at Photobucket

Next step was layer number 1 of the plywood. I screwed this layer to the frame, and drilled pilot holes to attach the two layers together from below which will leave no screw holes on the work surface. After screwing down this piece, Amy helped me spread glue on it. Then we added the top layer.
Photo Sharing and Video Hosting at Photobucket

The two layers were clamped together, and screwed together from below. The pieces are attached with 5 rows of three screws. I reattached the original back splash. I'll add hardwood edging once I get some milled, probably in class on Thursday.
Photo Sharing and Video Hosting at Photobucket

I've already put the new top to use doing the final work on Snowflake's nightlight. The light panels and the track they ride in were sanded and the track was waxed using a birthday candle - it's almost the perfect size to fit into the 1/4" wide dado. I added the light holder, and the felt which covers the bottom. A light sanding and another coat of wipe-on polyurethane finished up the work. We'll be delivering it tomorrow.

* The doorbell light is an architect style lamp which is attached to a plug which is activated by a doorbell. The doorbell is installed next to the door to the shop. Visitors to the shop can get my attention when I've got my back to the door and ear plugs in by pressing the doorbell, which makes the light blink. I acquired this from a vendor specializing in equipment for the deaf. I highly recommend it. Amy likes it because she can get my attention without coming into the shop thus avoiding the dust and some of the noise.

Friday, May 11, 2007

Class Machines


I prepare the stock for my projects in the adult ed class I take at a local high school. The equipment is decent, although the upkeep could be better. Last fall both the jointer and planer were out of commission for several weeks. Given that the use of those machines and the tablesaw are the reason I take this class, it was frustrating to say the least.

I first took this class about 10 years ago, after winning a gift certificate in a raffle which was part of the annual charity fund raising at work. I've taken it at least one session almost every year since.

Pictured below are the machines I use most often at class, and a brief explanation of each. This is the jointer. It's used to create a flat face, or edge on a board. Step one in surfacing a board is to place it on it's face on the table to the right of the red guard. The table surface on the right is slightly lower than the table surface on the left. The blades are under the red guard attached to a cylindrical holder. The blades spin and as you push the board from right to left they shave a small amount off the wood. Once one face is flat, the board is held on edge against the fence (the vertical metal piece in the picture), and run over the blade. As long as the fence has been set at a 90 degree angle to the table this will create an edge square to the face.

This is the planer. This one is mammoth - it'll take a board at least 20" wide. The planer is used to create a second flat face parallel to the face created on the jointer. It works similarly to the jointer. In the planer the blades are suspended above the board, and slice the wood off the top face of the board. The planer also has rollers flanking the blades that feed the board through.
This beauty is the table saw. I didn't manage to get a picture that shows the blade (sorry about that). Using the fence (the T shaped item on top of the table) and a miter gauge, which runs along the cut out at the left side of the table, the wood is cut to size.