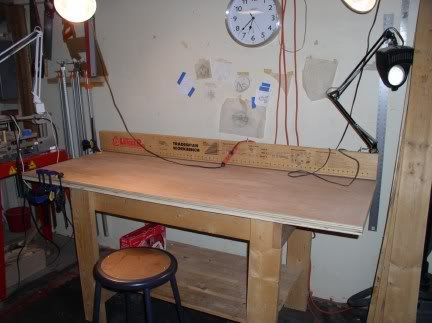
Last night I decided that this was the weekend to tackle the benchtop replacement. This is what it looked like when I headed to the shop today. The clutter on the top is normal, although the exact composition changes.
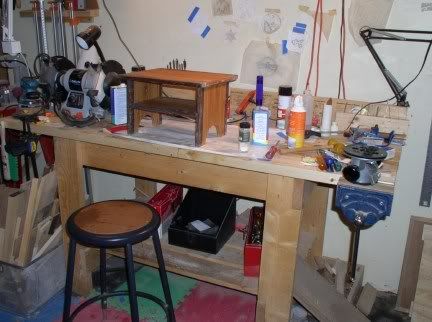
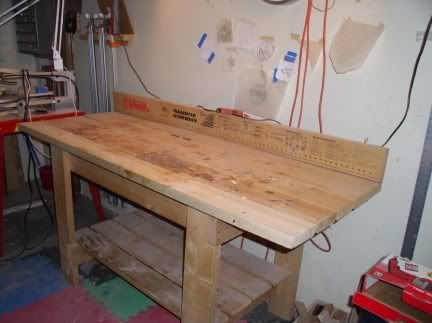
Step one of the process was to clear the bench. A number of things were put away, the rest were stacked in other places - on top of the other bench, on top of the router table, on the floor... The attached items - drill bit holder, vise, the screw from which my brush hangs and the doorbell light* were also removed. Here's how it looked at that point.
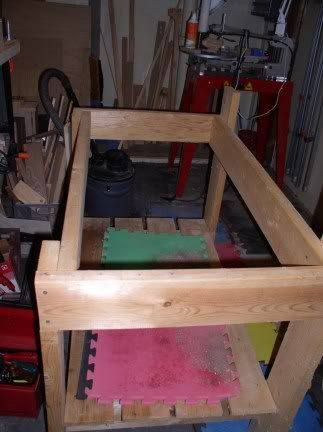
After removing the back splash, the boards of the top were removed, a fairly straight forward operation. Here's a look at the frame. The bright colored squares are rubber floor mats. I've had the floor padded for a while. I started with a small number of colored mats. When I expanded the padding all I could find were slightly larger black mats. I used both the colored mats and the new ones, but they don't interlock and this left edges to trip on which is definitely not a good idea. So, I took this opportunity to replace the colored mats with more of the black ones. This will give me fully interlocked padding.
Next step was layer number 1 of the plywood. I screwed this layer to the frame, and drilled pilot holes to attach the two layers together from below which will leave no screw holes on the work surface. After screwing down this piece, Amy helped me spread glue on it. Then we added the top layer.
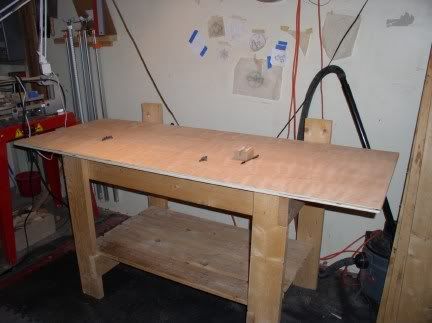
The two layers were clamped together, and screwed together from below. The pieces are attached with 5 rows of three screws. I reattached the original back splash. I'll add hardwood edging once I get some milled, probably in class on Thursday.
I've already put the new top to use doing the final work on Snowflake's nightlight. The light panels and the track they ride in were sanded and the track was waxed using a birthday candle - it's almost the perfect size to fit into the 1/4" wide dado. I added the light holder, and the felt which covers the bottom. A light sanding and another coat of wipe-on polyurethane finished up the work. We'll be delivering it tomorrow.
* The doorbell light is an architect style lamp which is attached to a plug which is activated by a doorbell. The doorbell is installed next to the door to the shop. Visitors to the shop can get my attention when I've got my back to the door and ear plugs in by pressing the doorbell, which makes the light blink. I acquired this from a vendor specializing in equipment for the deaf. I highly recommend it. Amy likes it because she can get my attention without coming into the shop thus avoiding the dust and some of the noise.
4 comments:
long time no comment ....
nice workbench! I found one at a going out of business sale and it was similiar, it is INVALUALBE. Good for you for making your own.
Yay for you for sprucing up your workspace a bit!
What if your doorbell turns the light off at a critical saw moment?
got any projects going on? been awhile since you posted :)
Shelley - the doorbell light is not the light I work by. It only goes on when the button is pushed.
Self Taught Artist - I've got a couple of things in the works, but it has been over a month since I did any work in the shop. I'll try and get some info about what is in the works up later this weekend.
Post a Comment